If you want your passport photo to be accepted, taking it is a difficult process that must be done with extreme caution. It may be necessary to take the photo quickly occasionally, or you may find it challenging to schedule getting a new passport photo around your daily schedule. Entrepreneurs are developing iOS-compatible passport photo apps to address this issue. You can now use your iPhone to take a passport photo as a result.
Consequently, it is now simple to take a passport photo online. As a result of this invention, taking your passport photo online has become much easier. Because it enables people to remain safe in their homes, learning how to print a passport photo on an iPhone has become significantly more crucial as a result of the uncertainty caused by the coronavirus pandemic. For all iPhone users looking to take a passport photo, this article will offer crucial advice.
Table of Contents
How To Make A Passport Photo With Iphone
Act now that you are aware of how to use your iPhone to take a passport photo. Undoubtedly, a built-in app can be used to edit a photo, but there is no assurance the resulting image will meet all official specifications. The likelihood that it will be rejected is therefore high. How can I create the ideal photo without going to Walmart or a neighborhood photo studio?
Utilize the useful app Passport Photo & ID Maker. You can take photos and crop them right on your iPhone with this tool, which is very simple to use. For each type of document, there are already-built guidelines and a list of official specifications. The app has one of the biggest databases and is free to use. For more than 130 nations around the world, passport photos are available.
Step 1. Select The Id Type
Start by selecting your nation and the necessary document type. A simple search field makes it easy to quickly find anything. The Digital label is placed on the ID types that only need a digital version of your photo.
Step 2. Take A Photo With The App
You can take a photo right inside of the app with Passport Photo & ID Maker. The facial area, crown, and jaw lines are all conveniently located on the camera. All you have to do is place your face inside the oval and press the button. Additionally, while taking the picture, you can open and read the most recent official specifications for this document type.
Step 3. Crop Your Image In A Tap
On your iPhone, you can instantly change the image’s size to that of a passport after you’ve taken the picture. The app can do it automatically, but you can crop the image manually if you’d rather be in charge of the process. To fit the face into a specific layout, simply pinch or zoom the image with your fingers.
Step 4. Replace Clothes In The Photo
Not everyone is prepared with a suit or business attire. You can alter your appearance right on your image using Passport Photo & ID Maker. You will undoubtedly find something that complements your individual style among the 60+ items available for men, women, and children. Select your favorite outfits, then use your fingers to drag them onto the picture. Go to the following tab once you are satisfied.
Step 5. Save Or Print Your Image
When finished, save your image to the gallery so you can print it from your iPhone at a nearby CVS or other retailer. Hard copies of your image can be made right away if you have a printer at home. Simply choose the number of images, choose one of the more than ten built-in paper formats, and then tap the Print button.
Step 6. Apply Online
At this time, you can finish your application and upload your photo at: www.passports.govt.nz
Rules To Take A Passport Photo With Iphone
Making some preparations before pressing the Camera button will help you achieve a flawless result on your first attempt. One of the most crucial concepts to comprehend is: even if you are taking a passport photo with an iPhone, it can’t be a selfie. You must therefore use a tripod with a timer or seek assistance. The following suggestions will help you shoot more effectively.
Pose And Camera Distance
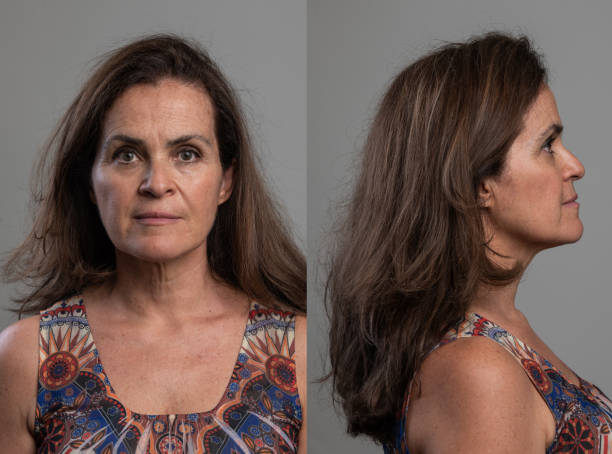
Place yourself 1.5 meters from the photographer and 0.5 meters from the wall behind you while standing or sitting. Make no attempt at posing: keep a straight posture, with your shoulders rolled back. Keeping your head straight, look directly into the camera. Push your jaw a little bit forward to prevent developing a double chin.
Lighting Adjustment
You require a medium-sized light source that will evenly light your face. Strong shadows will result from bright lighting, so avoid it. A lamp can be set up high above you or behind the photographer. The light source can also be put into the hot shoe of your camera.
Tips On Background
Many people believe that a background that is completely white is the best option when creating passport-sized photos. It’s a mistake because white surfaces sometimes reflect stronger lights and even produce glares. Choose simple white, cream, or light blue walls. Avoid posing in front of backgrounds with patterns or complexity. Additionally, there should be nothing in the frame.
Clothes You Can Wear
Put on everyday clothing, but avoid wearing a uniform. A light background will make pure white clothing blend in, so avoid it. Due to the requirement that your hairline be visible, headgear is not permitted. There is, however, an exception if you are required to wear it for religious reasons. Glasses and hearing aids are typically prohibited, but if you have a prescription, you are allowed to wear them.
Proper Face Expression
Try to maintain an expressionless face. Do not smirk, open your mouth, show your teeth, or frown. Additionally, a broad grin is not permitted. However, you can appear friendly by keeping your mouth corners slightly raised. Avoid turning or tilting your head. Wide open and clearly discernible eyes are required.
Apply Online
Now that your application is complete, you can upload your photo at: www.passports.govt.nz
A Tool You Can Use
The photo editor app from Passport Photo Online, which is available for iOS devices in the App Store, is a useful tool for creating passport photos. The languages offered are:
- Albanian
- Arabic
- Azerbaijani
- Croatian
- Czech
- Dutch
- English
- French
- German
- Greek
- Hungarian
- Italian
- Kazakh
- Latvian
- Polish
- Portuguese
- Romanian
- Russian
- Simplified Chinese
- Slovak
- Spanish
- Turkish
- Vietnamese
The app is 40.4MB in size and needs to be downloaded using an iOS 12.0 device. The iPad, Mac, and iPod Touch can all use the app.
Your first step after downloading the passport photo app is to decide what kind of document you want the picture to be taken for. This will enable the app to scale the image to fit the specifications of the appropriate document. You must then decide whether you want the free or upgraded (paid) version of the photos when they appear.
Us Passport Photo Requirements
Make sure the final image you produce on your iPhone complies with the most recent official specifications when creating a passport photo:
- The image size should be 2×2 inches (51×51 mm)
- The head must be between 1 and 1.4 inches (25 and 35 mm)
- The photo should be taken recently (during the last 6 months)
- Look directly in the camera, keep a neutral face expression
- Take a photo in front of a plain background
- Put on clothes you wear on a daily basis
- Do not wear glasses (including tinted glasses) or wireless headsets
These are merely the essential requirements; for a complete list, visit the U.S. government’s official website. Department of State.